Sunday, 22 July 2012

Body coloured heater flue

Right, bit stalled by weather and the need to fix exact position of kitchen, side ply has been screwed in and the edges sealed with Polyurethane glue, great as it expands like a mini version of the foam (guess that is what it is) I added a quarter circle bead to the top to help bond it in and break the bend for the carpet.

Postman has been a constant purveyor of gods from the far east recently, so getting the important bits in a row as it's expensive when you need them 'now'....


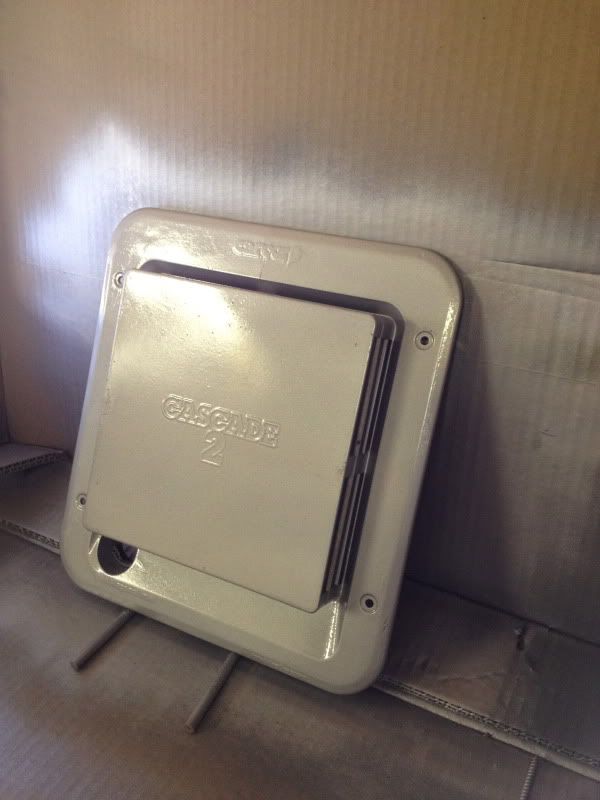
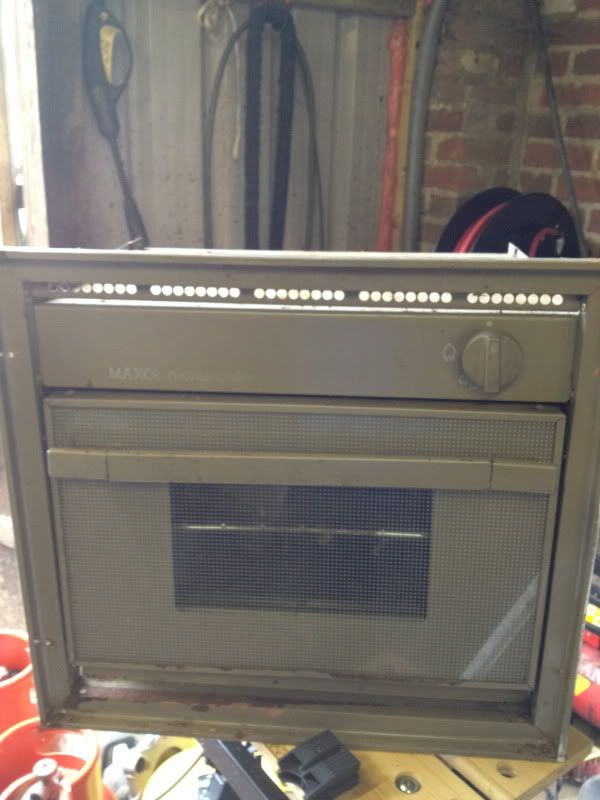
Got stuck into getting the Carver Cascade 2 looking a bit inconspicuous (well as much as a 8x10" lump can) The 'ETIS' site from Ford told me I had a 'Moondust' Silver Transit so off to the local factors for 3 cans of spray; plastic primer, colour coat and the all important lacquer.


For those who have sprayed plastic I'll accept a sage nod, for those who have not, consider plastic to be an evil fiend that hates you and your paint!


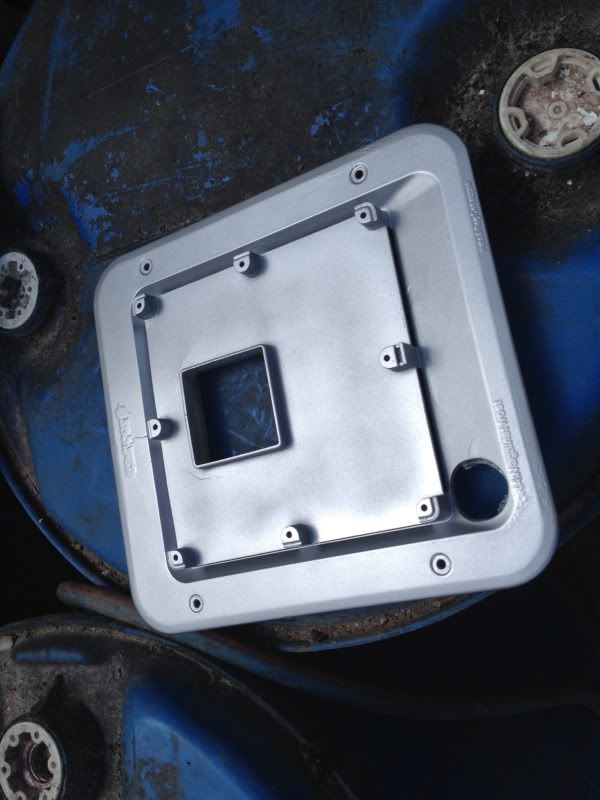
Disassembled the vent to get paint inside the frame or there will be white still visible, annoyed a couple of spiders and got to cleaning/rubbing down with a mix of red scotchbrite and paper, being nice and hot the 3 layers could go on in quick order, I'd also have used etch primer, but it's yellow and the plastic primer should be kinder to the plastic.

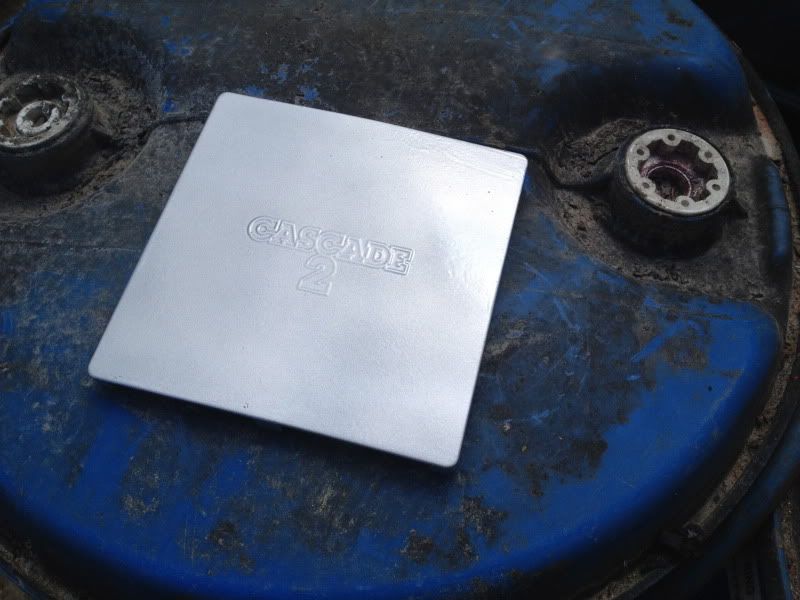
Dust coat of primer, then build, allow to almost dry and stick in the sun (yes when you read this tomorrow, we had summer yesterday!), cup of coffee and then repeat for top coat (note the Hycoat paint I used comes out like a hose compared to the primer and lacquer) dry the same, and checking the spiders are not stuck to it, whack the lacquer on. When dry (give it a few hours, pop it back together or wait overnight for the paint to cure hard, I was bored so on it went!

I'm pretty happy with the result, I'd have loved a Truma Combi or Ultrastore for a small round flue, but as I had this, it's a financial choice, £300+ for a second hand ultrastore will go much better elsewhere!


Monday, 9 July 2012

Ply lining

Today the second leak got sorted, "Creeping crack cure" to get it watertight, then it gets a new bead of sealant tomorrow. Walls have had ply cut to size (couple to finish) and van looks better for it.
Top edges will get a beading glued across between ceiling and walls to add stiffness and soften the line as its a bit abrupt.

Saturday, 7 July 2012

Caragone...

Caravan went today so the drive is now clear, sold as a rolling shed for £100, then sold the hitch for another £100 to the same guy as it was to be removed but towed so well with it on.

Carver water heater was tested yesterday and works okay, the oven blew a seal so that's going on eBay as spares repairs as I'm fitting a combined microwave. I had/have no intention of selling any gas appliance as anything but spares or repairs as they should be looked at by a professional, not just "it works must be okay"....

Bye bye Celotex....Hello ply

After almost a week of looking like an oven ready chicken/space capsule it was time to cover the celotex, solar mounts and about 3 tins of expanding foam.

I've gone for 5.5mm ply over the 3.6 as it's a bit stiffer and I'm glad I did as it still tries to wander around following the tension of the screws etc...

I decided to ignor the option of a full sheet with a 150mm strip as that was going to be a pig to fit a full sheet with a roof-light and cables to allow through. I just split the van down the middle and used 4 sheets instead of 3 with large off-cuts I can use as the bed bases etc...

Bit of jiggery-pokery with scribing in the front and rear, some went without a hitch some must have been stretching between the jigsaw and roof!

All glued (Stixall clear) and screwed into the wooden battens.


Van has now become much darker, but the light grey (silver they call it) carpet should keep it light, that's a epic for another time!

Leak!

Bum!

Looks like a seal has failed on the original roof not the roof-lights, probably when it's flexed under my (cough) weight....

Got it in the barn and gave it a rinse through with brake cleaner, bit of heat and it was clean and dry, the sealant says it can go off under water, solve world peace, time travel etc... as they all tent to claim; but that's under ideal conditions.

A good squidge in from above plus build a new sealant 'bead' then squidge another blob inside working it into the crack with my thumb and it's better sealed than Ford delivered it!

Will be keeping an eye and have ordered a large bottle of 'Creeping crack cure' to go over the rest as a preventative repair.

Thursday, 5 July 2012

Cold war preparations!

With all the Solar panels in and the roof-lights watertight, I've been getting stuck into the wiring and insulating the van....and 'de-squeaking'....


I've added an Aerial cable and glued it to the underside of a roof plug ready for an aerial or sat dish in the future, the 4mm solar panels are ready to wire and the MPPT solar controller has arrived today from China.

It's starting to look like the inside of a space ship or the laughable 'safety' measures of the 60's and 70's that were to protect us from radioactive fallout!